Dogs are more than just pets; they are beloved members of our families. Like any family member, they deserve the best, especially when it comes to treats! Sometimes, our furry friends can get bored with their regular diet and need a change to keep things exciting. Store-bought treats, while convenient, can often be expensive and may contain questionable ingredients.
I remember when I first brought home Max. He has the kind of eyes that could melt an iceberg and a tail that never stops wagging. Naturally, I wanted to spoil him rotten with all the goodies in the world. But I soon realized that store-bought treats can be expensive and often packed with questionable ingredients. So, I embarked on a culinary adventure to create homemade dog treats that are both healthy and delicious. And guess what? Max approves!
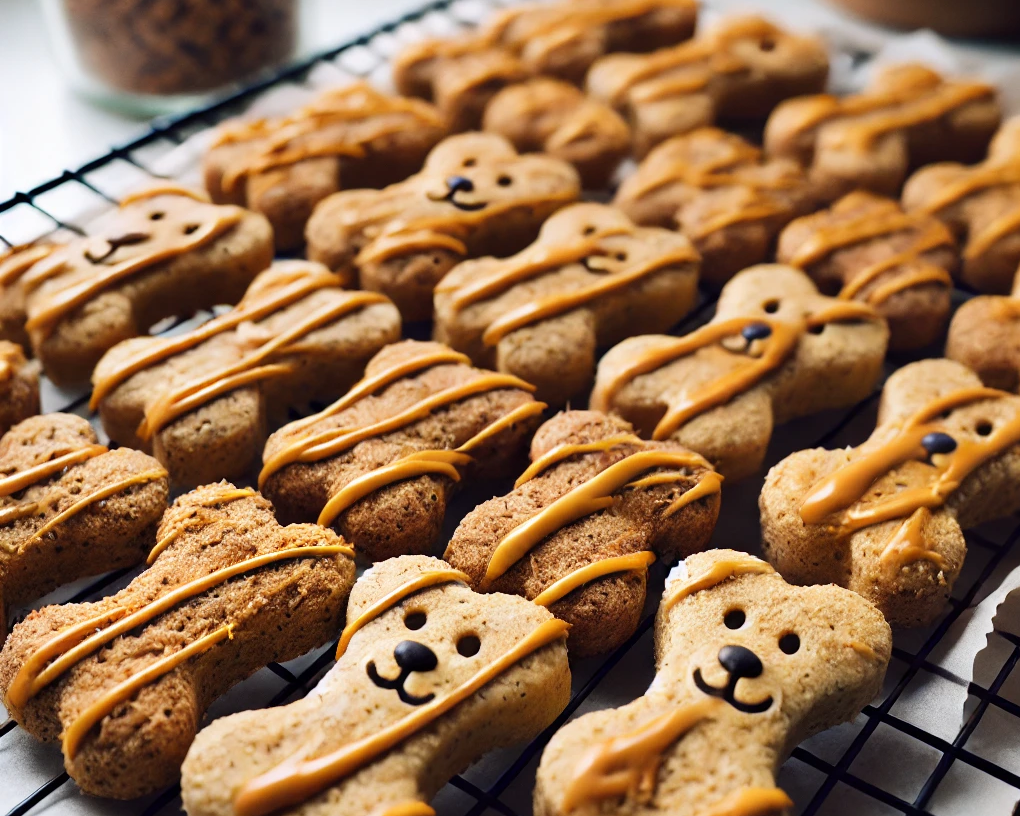
1. Peanut Butter and Banana Biscuits

Ingredients:
- 1 ripe banana
- 1/3 cup peanut butter (make sure it’s xylitol-free)
- 1 cup whole wheat flour
- 1/2 cup oats
Instructions:
- Preheat Your Oven: Set your oven to 300°F (150°C) to warm up while you prepare the dough.
- Mash the Banana: In a bowl, mash the banana until smooth. Make sure there are no large lumps left.
- Mix in the Peanut Butter: Add the peanut butter to the mashed banana and mix until well combined.
- Add Dry Ingredients: Gradually add the flour and oats to the wet mixture, stirring until you form a dough. The dough should be firm but not too dry.
- Roll Out the Dough: Sprinkle some flour on a clean, flat surface to prevent sticking. Place the dough on the floured surface and use a rolling pin to roll it out to about 1/4 inch thickness.
- Cut into Fun Shapes: Use cookie cutters to cut the dough into fun shapes. Bone-shaped cutters are popular, but you can use any shape you like. If you don’t have cookie cutters, you can use a knife to cut the dough into squares or rectangles.
- Bake the Biscuits: Place the cut-out shapes on a baking sheet lined with parchment paper. Make sure to leave a little space between each biscuit. Bake in the preheated oven for 25 minutes or until the biscuits are golden brown.
- Cool and Store: Let the biscuits cool completely before serving them to your dog. Store any leftovers in an airtight container to keep them fresh.
Tips:
- Choosing Peanut Butter: Always make sure the peanut butter you use is xylitol-free. Xylitol is an artificial sweetener that is toxic to dogs. Opt for natural peanut butter with no added sugars or salts.
- Texture Check: If the dough is too sticky, add a bit more flour. If it’s too dry, add a little water or more mashed banana to get the right consistency.
- Flavor Variations: You can experiment with adding other dog-safe ingredients like a tablespoon of honey for extra sweetness or a sprinkle of cinnamon for a bit of flavor.
- Uniform Thickness: To ensure even baking, make sure the dough is rolled out to an even thickness. This prevents some treats from being undercooked while others are overcooked.
- Cooling Rack: After baking, place the biscuits on a cooling rack to cool completely. This helps them crisp up nicely.
- Storage: Store the treats in an airtight container at room temperature for up to a week. For longer storage, keep them in the refrigerator or freeze them in batches and thaw as needed.
Serving Size:
- This recipe makes approximately 24 small to medium-sized biscuits, depending on the size of your cookie cutters.
These biscuits are Max’s all-time favorite. The combination of peanut butter and banana is a hit, and I love that they’re made with wholesome ingredients.
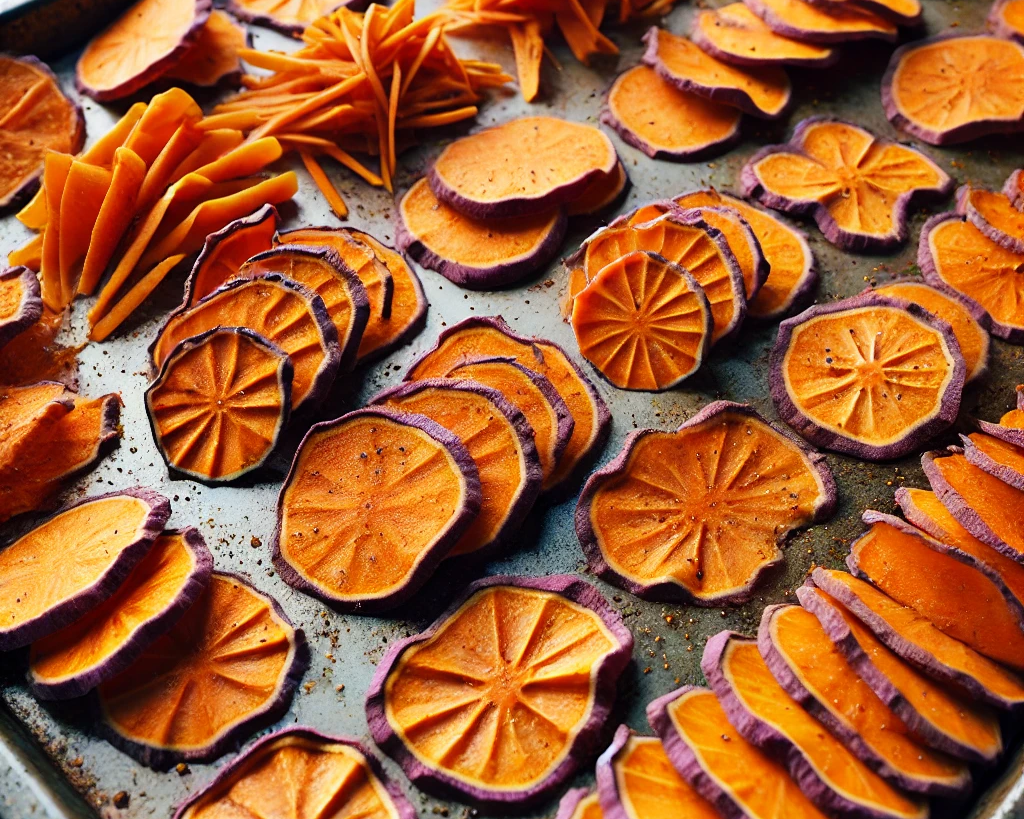
2. Sweet Potato Chews

Ingredients:
- 1 large sweet potato
Instructions:
- Preheat Your Oven: Set your oven to 250°F (120°C) to warm up while you prepare the sweet potato slices.
- Wash and Peel: Wash the sweet potato thoroughly to remove any dirt. You can peel the sweet potato if you prefer, but leaving the skin on adds extra nutrients.
- Slice Thinly: Using a sharp knife or a mandoline slicer, cut the sweet potato into thin, even slices. Aim for slices about 1/4 inch thick. The thinner the slices, the quicker they will dry out in the oven.
- Optional Seasoning: While plain sweet potato chews are great, you can add a little extra flavor by lightly sprinkling the slices with a bit of cinnamon. Avoid using salt or any seasonings that might be harmful to dogs.
- Arrange on a Baking Sheet: Place the sweet potato slices in a single layer on a baking sheet lined with parchment paper. Make sure the slices don’t overlap, as this will help them dry out evenly.
- Bake: Place the baking sheet in the preheated oven. Bake for 2 to 2.5 hours, turning the slices halfway through to ensure even drying. Keep an eye on them; they should become dried and chewy, not overly crispy.
- Alternative Method: If you’re short on time, you can bake the slices at a slightly higher temperature, around 300°F (150°C), for about 1.5 to 2 hours. Be sure to check them frequently to prevent burning.
- Cool and Store: Let the sweet potato chews cool completely before giving them to your dog. They will continue to harden as they cool. Store any leftovers in an airtight container. These treats can last for up to two weeks if kept in a cool, dry place.
Tips:
- Uniform Slices: Using a mandoline slicer can help you get uniform slices, which ensures even baking.
- Dehydrator Option: If you have a food dehydrator, you can use it instead of the oven. Set the dehydrator to the recommended temperature for drying vegetables (usually around 135°F or 57°C) and dry the slices for 6-8 hours or until they reach the desired chewiness.
Serving Size:
- This recipe makes approximately 20-30 chews, depending on the size and thickness of the slices.
Sweet potato chews are a natural and healthy alternative to store-bought chews. They’re easy to make and perfect for keeping your pup occupied.
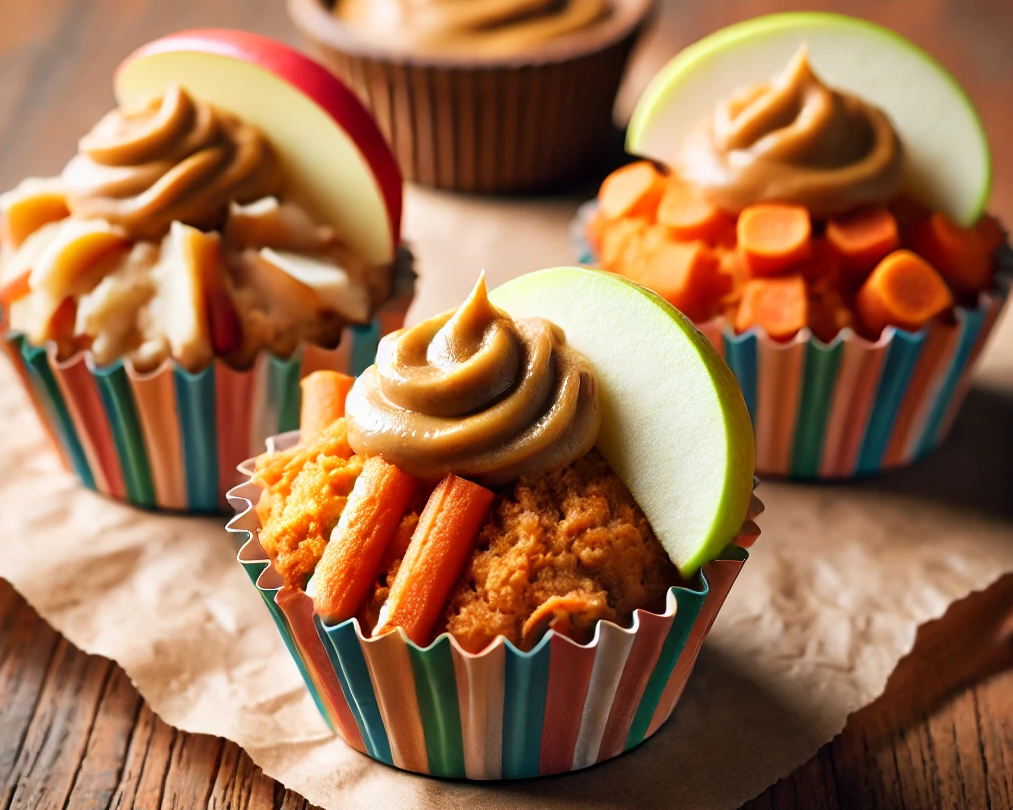
3. Apple and Carrot Pupcakes

Ingredients:
- 1 apple, peeled and grated
- 1 cup grated carrots
- 1/2 cup unsweetened applesauce
- 1/4 cup water
- 1 cup whole wheat flour
- 1 tsp baking powder
Instructions:
- Preheat Your Oven: Set your oven to 350°F (175°C) and line a muffin tin with paper liners or lightly grease it to prevent sticking.
- Prepare the Apple and Carrots: Peel and grate the apple. Grate the carrots as well. Ensure that the apple and carrot pieces are finely grated to mix well into the batter.
- Combine Wet Ingredients: In a large bowl, mix the grated apple, grated carrots, applesauce, and water until well combined.
- Mix Dry Ingredients: In a separate bowl, whisk together the whole wheat flour and baking powder. This ensures that the baking powder is evenly distributed throughout the flour.
- Combine Wet and Dry Ingredients: Gradually add the dry ingredients to the wet mixture, stirring until just combined. Be careful not to overmix, as this can make the pupcakes dense.
- Fill the Muffin Tin: Spoon the mixture into the prepared muffin tin, filling each cup about 2/3 full. This allows room for the pupcakes to rise as they bake.
- Bake: Place the muffin tin in the preheated oven and bake for 25-30 minutes, or until a toothpick inserted into the center of a pupcake comes out clean.
- Cool Completely: Allow the pupcakes to cool in the tin for a few minutes before transferring them to a wire rack to cool completely. This helps prevent them from becoming soggy.
Tips:
- Uniform Grating: Ensure that the apple and carrot are grated finely and uniformly. This helps them mix evenly into the batter and ensures a consistent texture.
- Check for Doneness: Insert a toothpick or a skewer into the center of the pupcakes. If it comes out clean or with just a few crumbs, they are done. If it comes out with wet batter, bake for a few more minutes and check again.
- Avoid Overmixing: Overmixing the batter can result in dense pupcakes. Mix until the ingredients are just combined.
- Optional Toppings: For an extra treat, you can top the cooled pupcakes with a small dollop of peanut butter or a dog-safe frosting made from yogurt and a touch of honey. You may also add very thin slices of apples and small carrot bites as toppings for your dog to have a little fun with!
- Storage: Store the pupcakes in an airtight container in the refrigerator for up to a week. For longer storage, freeze them and thaw individual pupcakes as needed.
Serving Size:
- This recipe makes approximately 12 standard-sized pupcakes, perfect for sharing with multiple dogs or saving for later.
Max loves these little pupcakes, especially when I top them with a dollop of peanut butter. They’re perfect for celebrating birthdays or just because.
4. Chicken and Rice Balls
Ingredients:
- 1 cup cooked chicken, finely chopped
- 1/2 cup cooked rice
- 1/4 cup parsley, finely chopped
- 1 egg
Instructions:
- Preheat Your Oven: Set your oven to 350°F (175°C) to warm up while you prepare the chicken and rice mixture.
- Prepare the Ingredients: Finely chop the cooked chicken and parsley. Ensure the rice is cooked and cooled to room temperature before mixing.
- Combine Ingredients: In a large bowl, combine the finely chopped chicken, cooked rice, parsley, and egg. Mix until all the ingredients are well incorporated.
- Form the Balls: Use your hands to shape the mixture into small balls, about 1 inch in diameter. If the mixture is too sticky, you can lightly wet your hands to prevent sticking.
- Arrange on a Baking Sheet: Place the chicken and rice balls on a baking sheet lined with parchment paper. Make sure there is a little space between each ball to ensure even cooking.
- Bake: Place the baking sheet in the preheated oven and bake for 15-20 minutes, or until the balls are golden brown and firm to the touch.
- Cool Completely: Allow the chicken and rice balls to cool on the baking sheet for a few minutes before transferring them to a wire rack to cool completely. This helps them firm up and makes them easier for your dog to eat.
Tips:
- Uniform Size: Try to make the balls as uniform in size as possible to ensure even baking. Using a small cookie scoop can help with this.
- Substitutions: You can substitute the parsley with other dog-safe herbs like cilantro or basil for a different flavor.
- Check for Doneness: The balls should be golden brown and firm to the touch. If they are still soft in the middle, bake for a few more minutes.
- Storage: Store the chicken and rice balls in an airtight container in the refrigerator for up to a week. For longer storage, freeze them and thaw individual balls as needed.
Serving Size:
- This recipe makes approximately 20-24 chicken and rice balls, depending on the size you make them.
These chicken and rice balls are a protein-packed snack that Max can’t get enough of. They’re great for training sessions or just as a special treat.
Final Thoughts
Making homemade dog treats is not only fun but also a great way to ensure your furry friend gets the best nutrition. Plus, the joy of seeing Max’s excitement when he knows I’m baking just for him is priceless. So, roll up your sleeves, preheat that oven, and let’s get baking!
I hope you and your pups enjoy these recipes as much as Max and I do. Feel free to share your own favorite dog treat recipes in the comments below. Happy baking, and give your doggos an extra treat from us!


